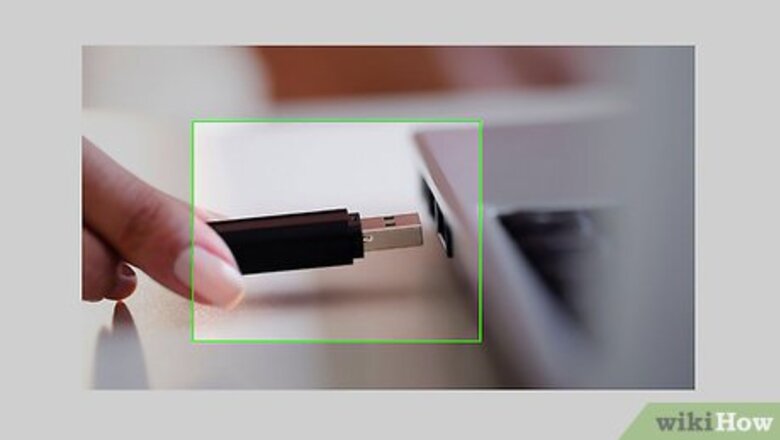
views
1. If trying to copy something to your USB Drive, get an error notification.
2. If you are trying to format your drive you may get "Write-protected".
These means that your drive is in Read-only state. If you need to change this so that you can edit the contents of the drive, you can change the state of your USB drive on Windows system using 'Command Prompt'.
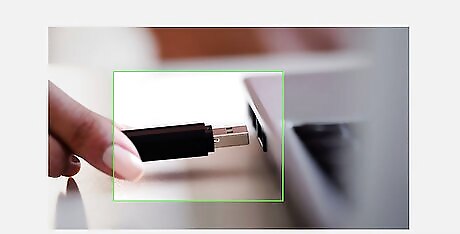
Plug your USB in.
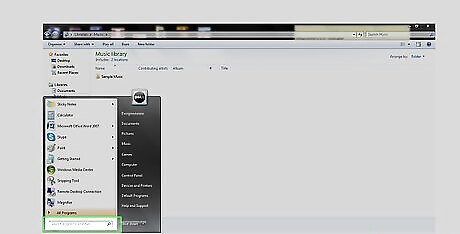
Go to 'Search'.
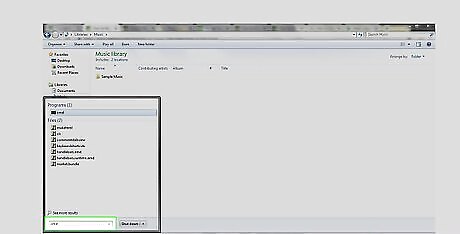
Type CMD in the 'Search Bar' section and select the 'Command Prompt'.
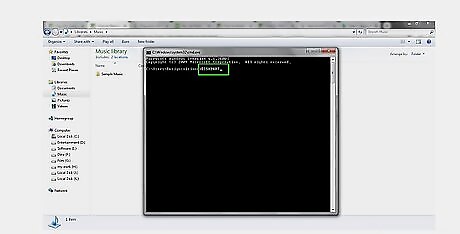
Type DISKPART into the Command Prompt. Where the pop-up window appears, click on Yes to accept it.
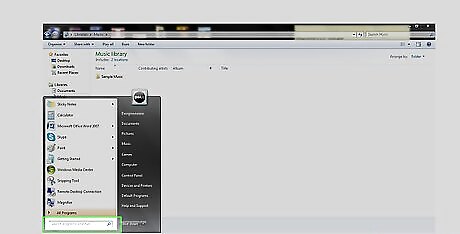
Alternatively, go to 'Search'.
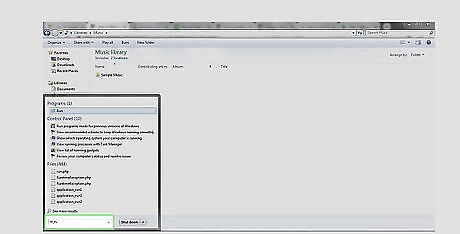
And type RUN.
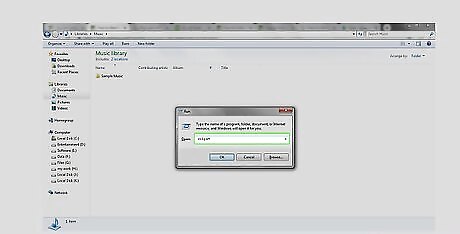
Alternatively, press the 'Windows+R' keys to open 'Run' tool. Then type diskpart and press OK.
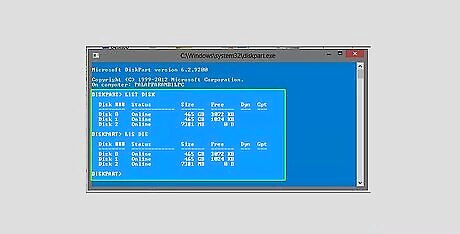
Type LIST DISK or LIS DIS into the console. It will show all the connected drives including your USB. The newly connected USB drive should be the last on that list. Or you can find your drive by looking on the size of drives.
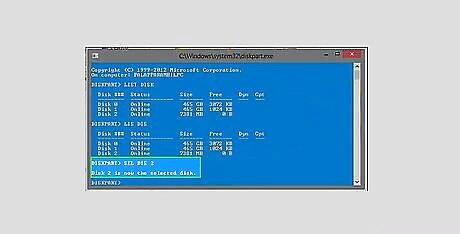
Type SELECT DISK # or SEL DIS # ('#' means the drive number-here my disk number is '2').
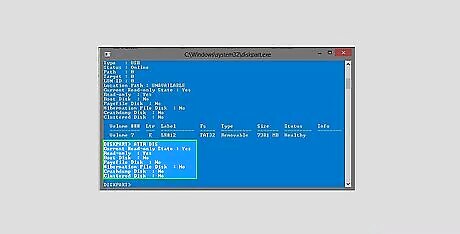
Type ATTRIBUTES DISK or ATTR DIS, it will show the current attributes of the drive. Here the current read-only state as "on" means the drive is read-only.
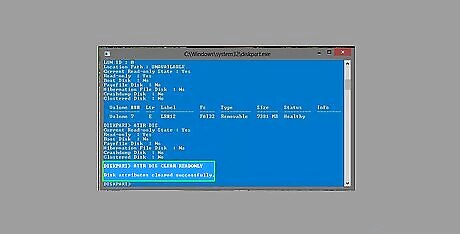
Type ATTR DIS CLEAR READONLY. It will remove the current read-only state.
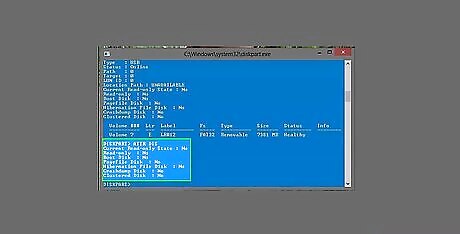
Type ATTR DIS again. It will show the change.
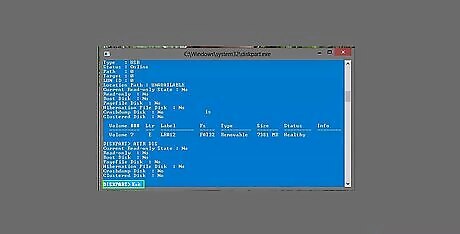
Type EXIT to exit the Command Prompt
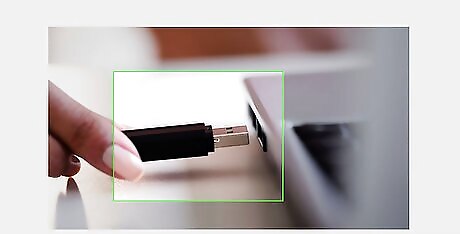
Then remove the USB and plug it again
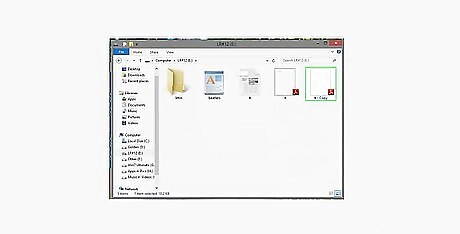
Now do any task to see the change.


Comments
0 comment