views
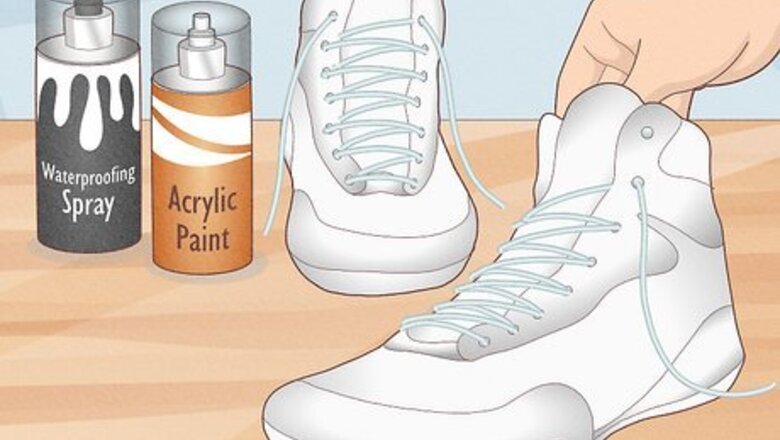
Get white shoes, acrylic spray paint, and waterproofing finish.
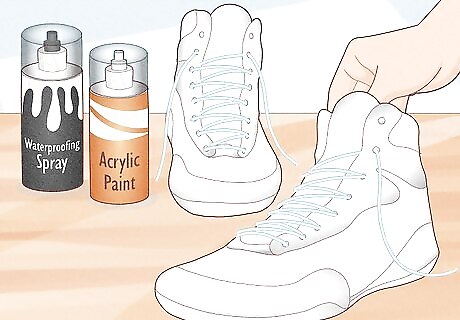
Canvas or faux leather shoes work the best. Converse, Vans, or Nike Air Force 1 are all really popular choices since they look great with a custom hydro dip. You'll also need: Painter's tape 2 to 3 cans of acrylic paint with a gloss finish Topcoat or waterproofing finish Isopropyl alcohol or rubbing alcohol Newspaper or plastic bags Plastic storage tub Lukewarm water Gloves and a dust mask Metal or silicone stir stick Hydro dipping kit, optional
Cover parts of the shoes that you don't want to paint with tape.
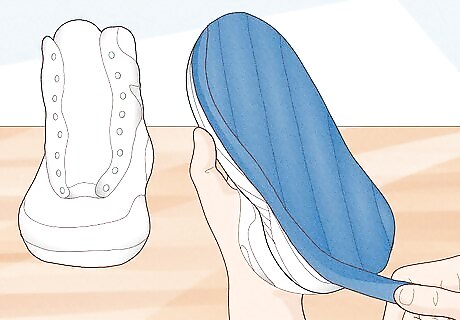
Remove the laces and set them aside if you don't want them to get painted. Then, stick painter's tape over the bottom soles of the shoe and along the friction—that's the white stripe along the bottom edge of the shoes. If your shoes have a white toe cap, you might want to cover it with tape, too. If you want a little practice, try dipping an old pair of sneakers before dipping a new pair of white shoes.
Wipe faux leather shoes with isopropyl alcohol.
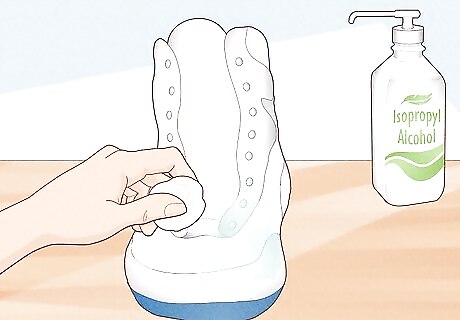
Dip a cotton ball in isopropyl alcohol wipe it across the smooth finish. Paint won't really stick to shoes that have a smooth finish. Fortunately, you can strip the finish with isopropyl alcohol or rubbing alcohol. Just rub it over the smooth surface of the shoe and let the material dry completely. Don't have isopropyl alcohol or rubbing alcohol at home? You could also lightly scuff the shoes with sandpaper so the paint adheres to the fabric better. If you're dipping canvas shoes, you can skip this step.
Stuff the shoes with newspaper or plastic bags.
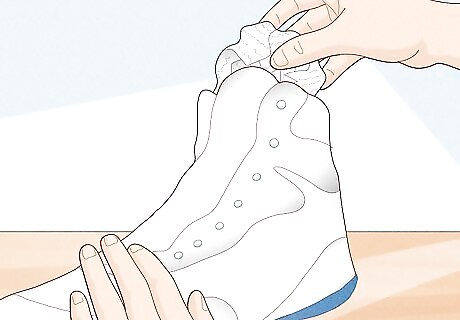
Fill the shoes so the insoles don't get paint on them. Once you're done hydro dipping the shoes, you can pull out the newspaper or plastic bags and you'll see that the inside of the shoes is still totally white. Want the inside of your shoe to be painted and colorful? No problem—just don't stuff the shoes with anything.
Fill a plastic storage tub half full with lukewarm water.
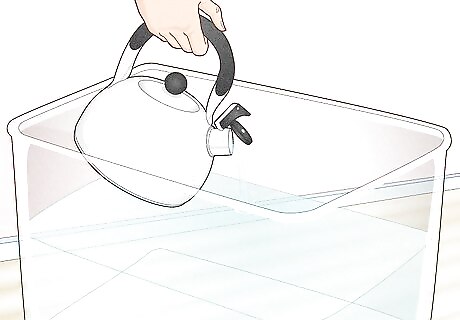
Use an old tub that you don't mind getting paint on. Then, fill it half full with lukewarm water since warm water makes it easier for the paint to stick to your shoes. Although you can use cold water straight from a hose, it's a better idea to fill up your bucket and let it warm up in the sun a little. You could also add some hot water in order to get lukewarm water. If you use cold water, the spray paint can clump on the surface. You can easily pick up plastic tubs that are perfect for this at your local thrift store.
Put on latex gloves and a dust mask.
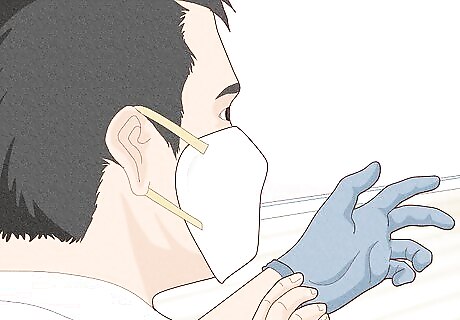
Protect your hands from getting stained by wearing latex gloves. You'll also need to pop on a dust mask so you don't breathe in the fine particles of spray paint. If possible, do this project in a well-ventilated space or outside. If you're working indoors, open all the windows in your room and turn on a fan to get the air moving. If you've got a respirator, use that instead of a dust mask for even more protection.
Spray 2 or 3 cans of paint onto the surface of the water.
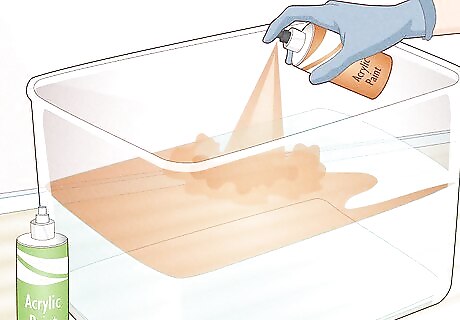
Shake the cans really well and spray them until the water is covered with paint. You can use 2 cans if you just want a few colors or spray 3 if you want more colorful shoes. How you spray the paint is totally up to you! You could spray 1 color on 1 side of the water and spray the other color on the opposite side and swirl the colors together, or you could spray circles of color on the water so the different shades overlap. Although you can use other finishes like matte or satin, they may dry faster on the surface of the water, so it's harder to dip your shoes.
Swirl the paint then dip your shoes in the water.
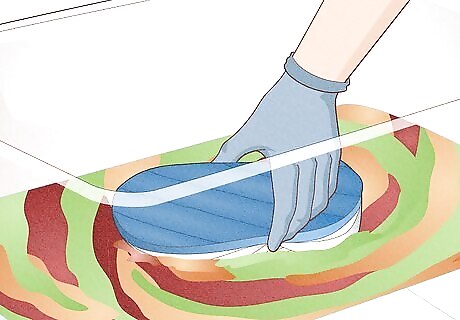
Use a metal or silicone stir stick to mix the paint. Don't use a wooden stir stick or the paint will cling to it. Then, hold the sole of one shoe and submerge it in the water upside down. Quickly lift it back out so the swirled paint sticks to it, then repeat the process with the other shoe. If you want to make a unique solid color, completely swirl the colors together.
Apply a topcoat once your shoes are dry.
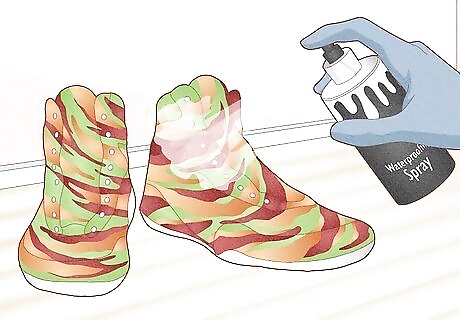
Spray a topcoat or waterproofing layer to your shoes to seal the paint. Use a gloss finishing spray if you want the shoes to have a slight shine or use a matte finish if you don't want a glossy look. If you don't apply a topcoat or waterproofing spray, the paint will crack faster.
Follow the manufacturer's instructions if you're using a hydro kit.
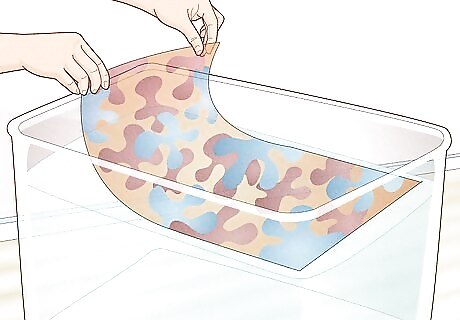
Kits include hydrographic film that you activate in water. Start by preparing your shoes so they're clean and taped. To begin, lay the hydrographic film in a tub of warm water and let it sit for around 1 minute. Spray the top of the film with activator spray and let it sit for 1 minute. Then, submerge your shoe so the film coats it. Take out your shoe and rinse it with hot water until the glossy finish is gone. Use a fresh piece of hydrographic film to dip the second shoe. Some kits supply you with a dust mask and gloves. If yours doesn't come with them, just pick them up before you get started.






Comments
0 comment